I've been so busy at work that I haven't had time to post at all. I'll have a top to show you this weekend, but for now all I have is some scraps and another mini log cabin in the works...
The strips are only 1.25" wide the little blocks will be about the size of my hand when finished. I LOVE the little pieces... I bought a bunch of scrap bags off of Etsy that were full of coordinated fabrics. This is unusual...typically I get a hodge podge of stuff--most of which I don't really like. But one seller was getting rid of a few select lines of fabric and these strips are cut from one of those scrap bags. I think it is Delilah by Tanya Whelan...into the mix I added a few polka dots and matching prints.
Ultimately I hope to have a small baby quilt...I'm contemplating starting up an Etsy shop and little quilts are right up my alley. Who knows, but it's keeping me busy!
Spring Break is next week so I'll be back to posting and sewing. A few friends are getting together for a little sew-in on Sunday so maybe I'll be really productive and make something awesome this weekend!
Happy Quilting to you....
Thursday, March 21, 2013
Sunday, March 10, 2013
Mini Log Cabin Quilt...
My students are going to love this!! These are the blocks I started when I was out of town a few weeks ago. The center of the block is a square 1.5" to 1.75". The logs were 1.25" prior to sewing...so they finished about 0.75". I did two rounds around the center block and then added a 2" strip of white to two of the other sides. They were trimmed to 5.5" square and finished at 5"! I added a 2" white border around the edges and it came it at about 49" square.
Perfect for my classroom! There are 81 little blocks so it totals about 900 pieces. I don't usually care about these numbers, but I know the students will ask...
This is on the backyard bench...see how small they are!
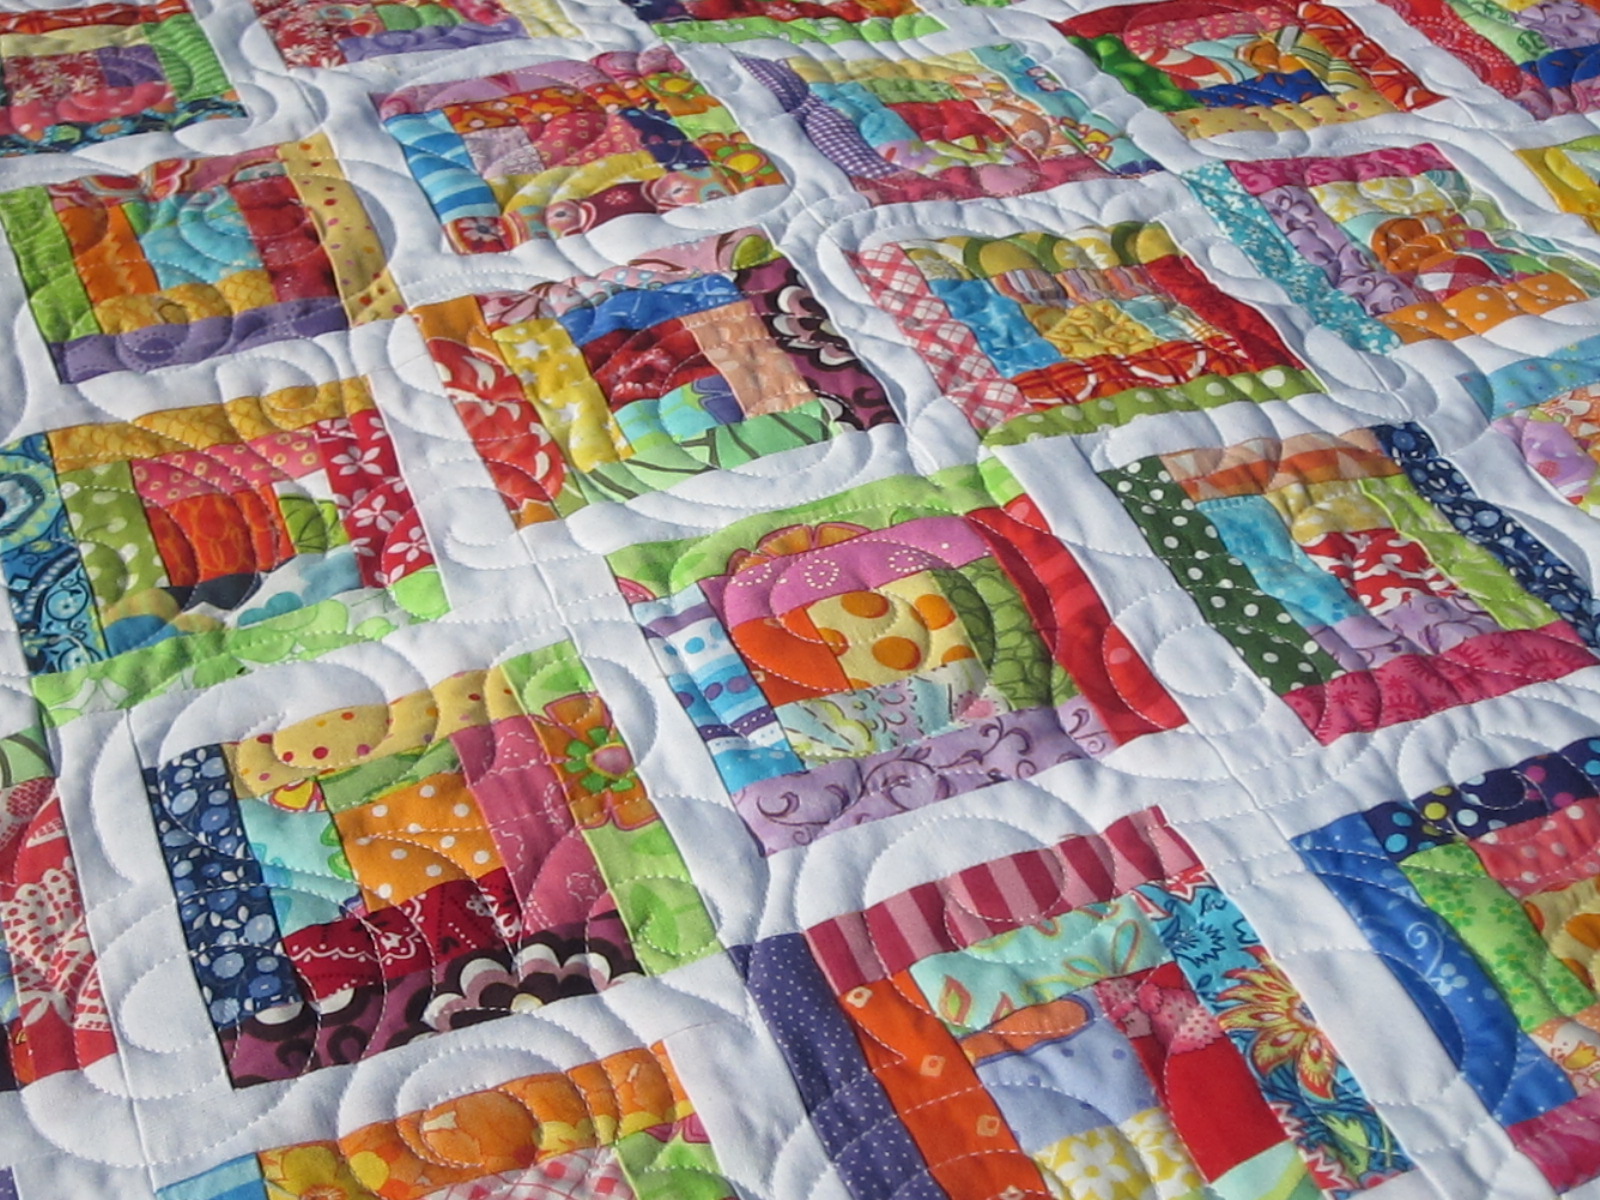
These are the actual colors and an up-close pic. I quilted all over swirls...
So that is what I've been doing...On to my next project! Happy Quilting...57 more school days left!
Perfect for my classroom! There are 81 little blocks so it totals about 900 pieces. I don't usually care about these numbers, but I know the students will ask...
This is on the backyard bench...see how small they are!
Then we went to the park....too bright out, I think...
These are the actual colors and an up-close pic. I quilted all over swirls...
So that is what I've been doing...On to my next project! Happy Quilting...57 more school days left!
Saturday, March 9, 2013
Joyce's Dresden Quilt...
I quilted this Dresden Plate quilt for Joyce today...it is made from repro prints, only 55" square. Check it out...
And an up close shot...swirls in the background and wishbones in the borders. This was a new adventure for me as I had to attach the ruler plate and use the ruler to make the cornerstone squares stand out. I've only had it for year...about time I tried it out. It was just like riding a bike...no problems at all!
I'll drop it off tomorrow and hopefully take pics of the one I'm binding right now...I'm off to have a dinner out with the ladies. Happy Quilting!
And an up close shot...swirls in the background and wishbones in the borders. This was a new adventure for me as I had to attach the ruler plate and use the ruler to make the cornerstone squares stand out. I've only had it for year...about time I tried it out. It was just like riding a bike...no problems at all!
I'll drop it off tomorrow and hopefully take pics of the one I'm binding right now...I'm off to have a dinner out with the ladies. Happy Quilting!
Monday, February 25, 2013
Scrappy Mini Log Cabins....
I began cutting up some of the scraps in my scrap buckets. I'm using 1.25" strips to make some mini log cabins...they are just adorable! It turns out I have some fantastic scraps....once again, I'm using the design wall!
This is an up close shot. I've bordered the little log cabins on two sides with white fabric. Each square will be trimmed to a 5.5" square so they will finish at 5". I need 81 of them and I have 35 done and maybe another 30 in process...but they are so much fun! I'm lovin' this project...
Look at all of these wonderful scraps! These are definitely the colors I enjoy working with...bright, lively, saturated with color...happy fabrics!
This is my project for the week...maybe I'll have some pics of a completed quilt top by the end of the week. Algebra will be lightening up for a while so maybe I won't have to work so hard! LOL....
Happy Quilting!
This is an up close shot. I've bordered the little log cabins on two sides with white fabric. Each square will be trimmed to a 5.5" square so they will finish at 5". I need 81 of them and I have 35 done and maybe another 30 in process...but they are so much fun! I'm lovin' this project...
Look at all of these wonderful scraps! These are definitely the colors I enjoy working with...bright, lively, saturated with color...happy fabrics!
This is my project for the week...maybe I'll have some pics of a completed quilt top by the end of the week. Algebra will be lightening up for a while so maybe I won't have to work so hard! LOL....
Happy Quilting!
Saturday, February 23, 2013
Batik Butterflies...
I went out of town last weekend and did LOTS of sewing! I started on a batik butterfly wall hanging for my classroom, but quickly got derailed onto another project I'll share later. These look wonderful in person...the colors of the wings are so saturated and deep! It will look great when it gets finished....
I actually put them on my design wall! Poor, lonely design wall...
Up close you can see the text prints in the stems...I have all the pieces cut out and ready to be assembled--I just have to get the time to get it done!
Anyhow, I'm going to do a little sewing on my other project today. Hopefully I'll have some more pics by the end of the weekend. Happy Quilting to you all!
I actually put them on my design wall! Poor, lonely design wall...
Up close you can see the text prints in the stems...I have all the pieces cut out and ready to be assembled--I just have to get the time to get it done!
Anyhow, I'm going to do a little sewing on my other project today. Hopefully I'll have some more pics by the end of the weekend. Happy Quilting to you all!
Friday, February 15, 2013
Lots 'o Butterflies!
I made placemats for several friends over the last couple of weeks...I can finally reveal them all! What does one do with a single placemat?? Who knows, not my problem! The tutorial for these placemats can be found in this post...
Bliss fabric...
Cool blues and greens with a hint of yellow...
Up close...
Anyhow, these will make cute little gifts for some sewing friends of mine....I'm going away this weekend and I plan on taking along a few sewing projects. Next week I shuold have something to share with you all....have a great weekend!
Bliss fabric...
I love the aqua, orange and yellow combo....
Cool blues and greens with a hint of yellow...
My favorite...made from bright batiks!
Retro '30's reds and yellows...
Aqua and gray...
More blues and greens...V and Co. fabric...
And one made from selvages for Sharon....
Up close...
Anyhow, these will make cute little gifts for some sewing friends of mine....I'm going away this weekend and I plan on taking along a few sewing projects. Next week I shuold have something to share with you all....have a great weekend!
Saturday, February 2, 2013
Chubby Butterfly Placemats
Ok...these are the cutest little butterflies. I made a few of these placemats and I thought that some of you might want to try your hand at a some cutie butterflies....
First, select your fabrics...One for the top and bottom, one for the inside border, one for the background behind the butterflies, three for the butterfly wings, and some text prints (or whatever) for the center of the butterflies....
Cut one 5.5" x 5" square from each of the butterfly wing fabrics. Cut in half to make two wings, each 5.5" x 2.5". Stack all three sets together to get it done quicker...
To make chubby wings on your butterfly, trim from the bottom corner of one side to 1" away from the corner above it. See pic for more info...LOL
Repeat on the other side...discard the scraps...
Next, you will cut the pieces for the rest of the placemat...three 1.5" x 5.5" strips for the centers of the butterflies...text prints are awesome for this part...
Next, cut the following pieces:
Cut the background squares kind of diagonally, but through the center, just a little bit slanty...
Next, attach the background pieces to the wing pieces...
I pressed my seams open on the wings...do this for all of them...
Now, you must trim them to be 2.5" x 5.5"....Start by aligning the left side of the wing with the 2.5" line on the ruler and trim the right side...
Trim the right edge, 1/4" away from the wing tip...
Now, go 5.5" down the wing strip and trim the other end. It should be about 1/4" away from the wing tip on this side as well....
Now you have a nice 2.5" x 5.5" wing...
Sew your top strip to your inner border stips...do both of them...
Sew your wings to your center butterfly strips like you see in the pic....I pressed the seam to the inside of the butterfly. You butterflies will measure 5.5" square...finished size of 5" square. Make all three then arrange as you like...Sew all three together.
Attach the side inner border pieces to the outer edges of the butterfly strips. The middle will be a bit longer than the top and bottom...no worries!
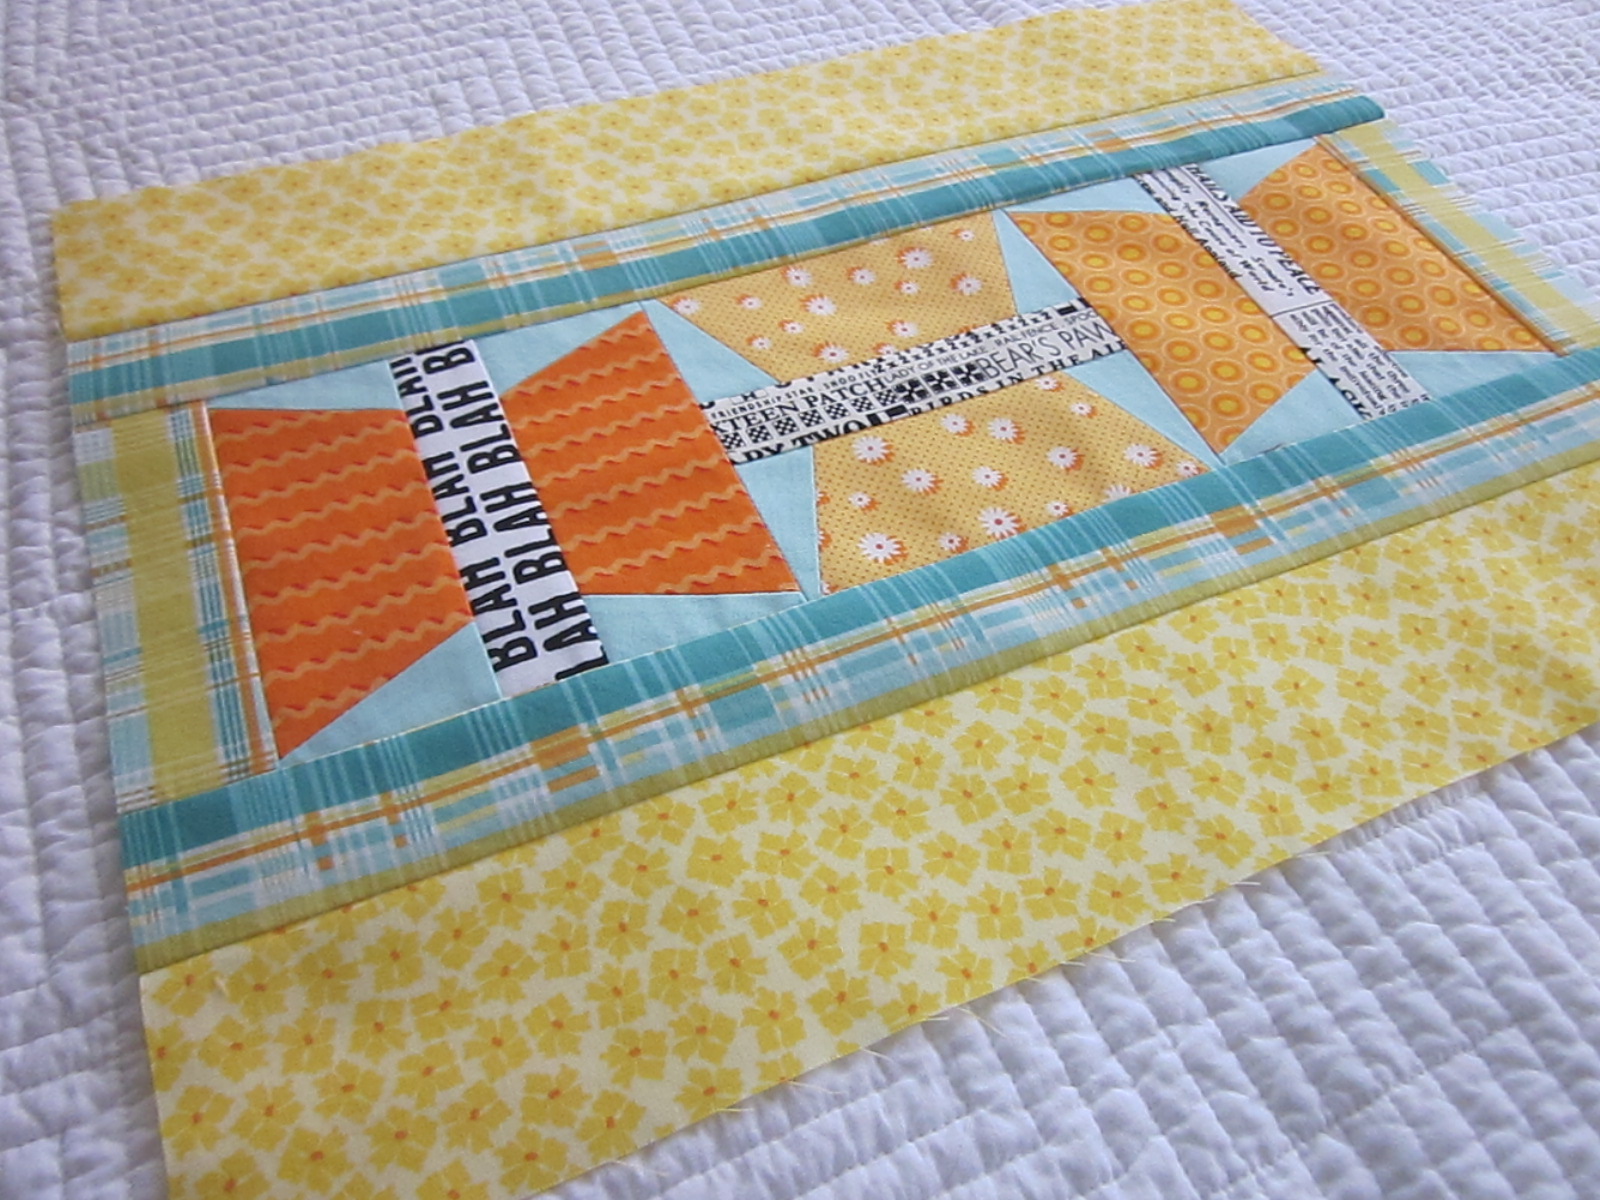
Trim the sides so you have a nice rectangle...quilt as desired! Mine finshed to about 13.5" x 18" prior to quilting...
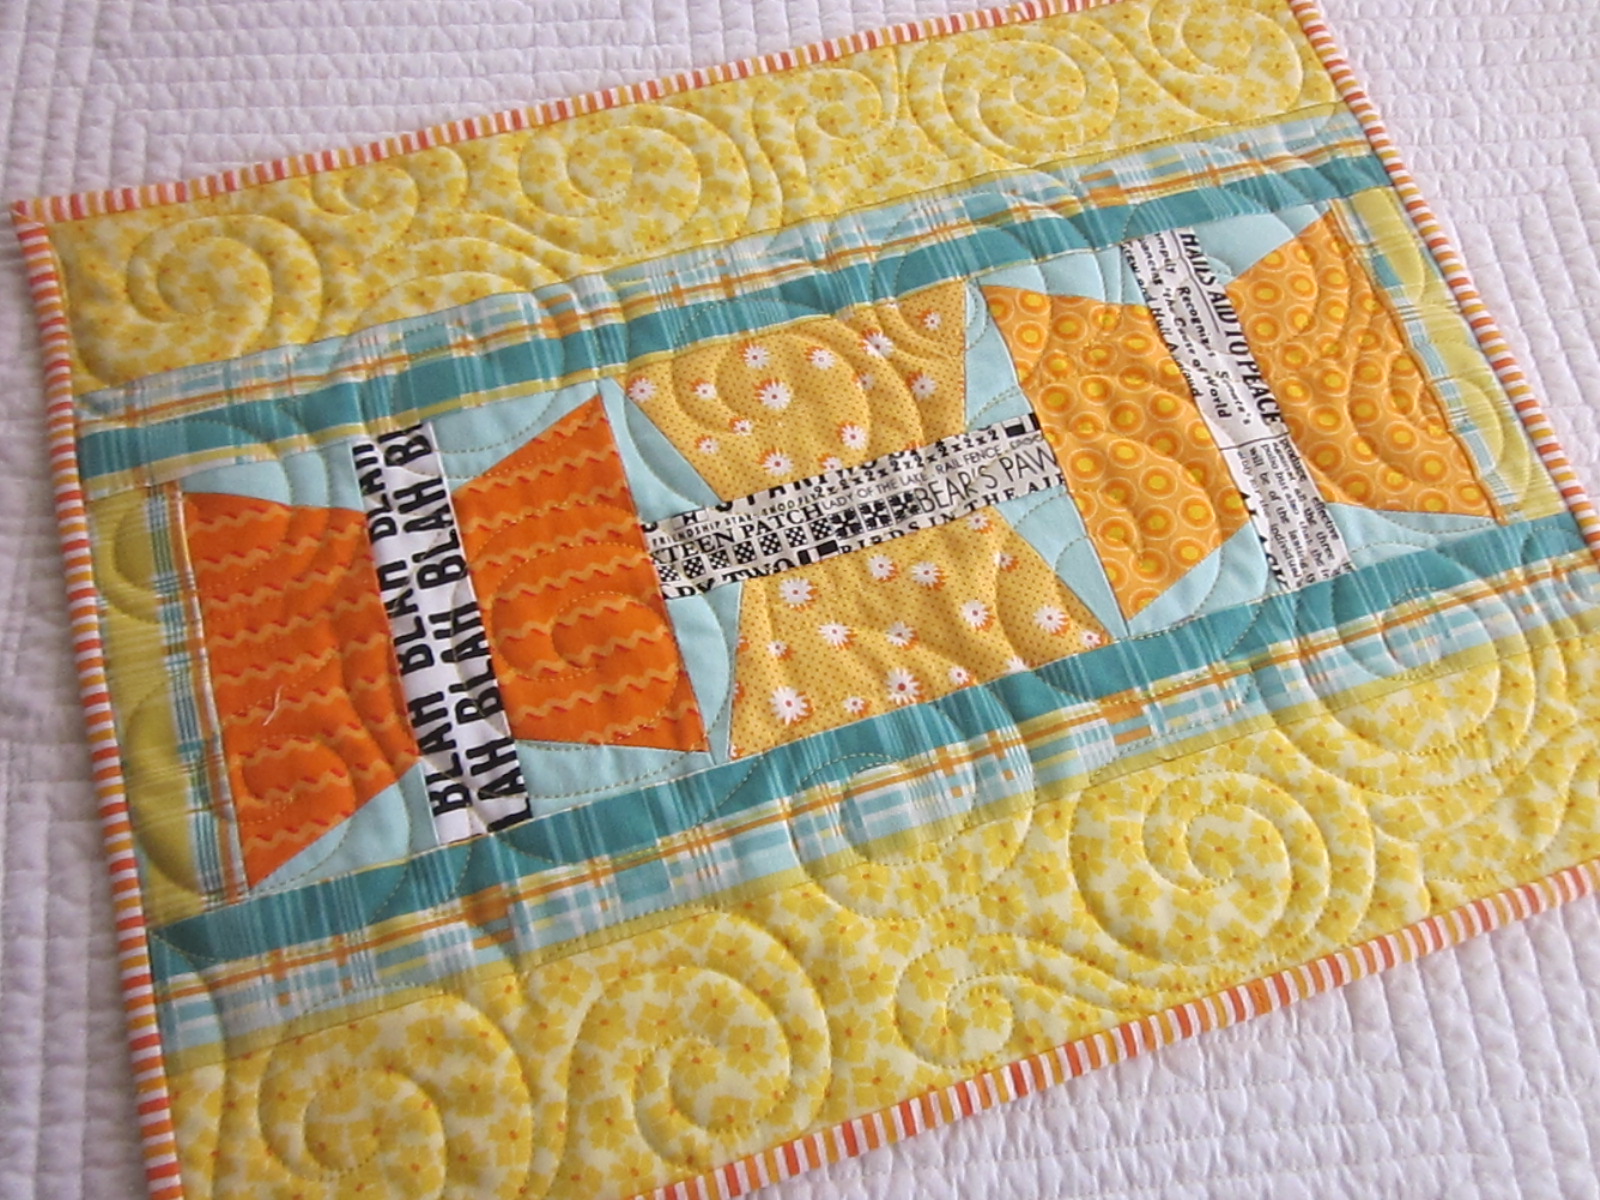
I used single fold binding on mine. Here are a few finished ones...love this one made from Soul Blossoms fabric...
Rainbow butterflies...these butterfly wings are skinnier because I cut at a 60 degree angle from the corner, but I like the fatter ones...
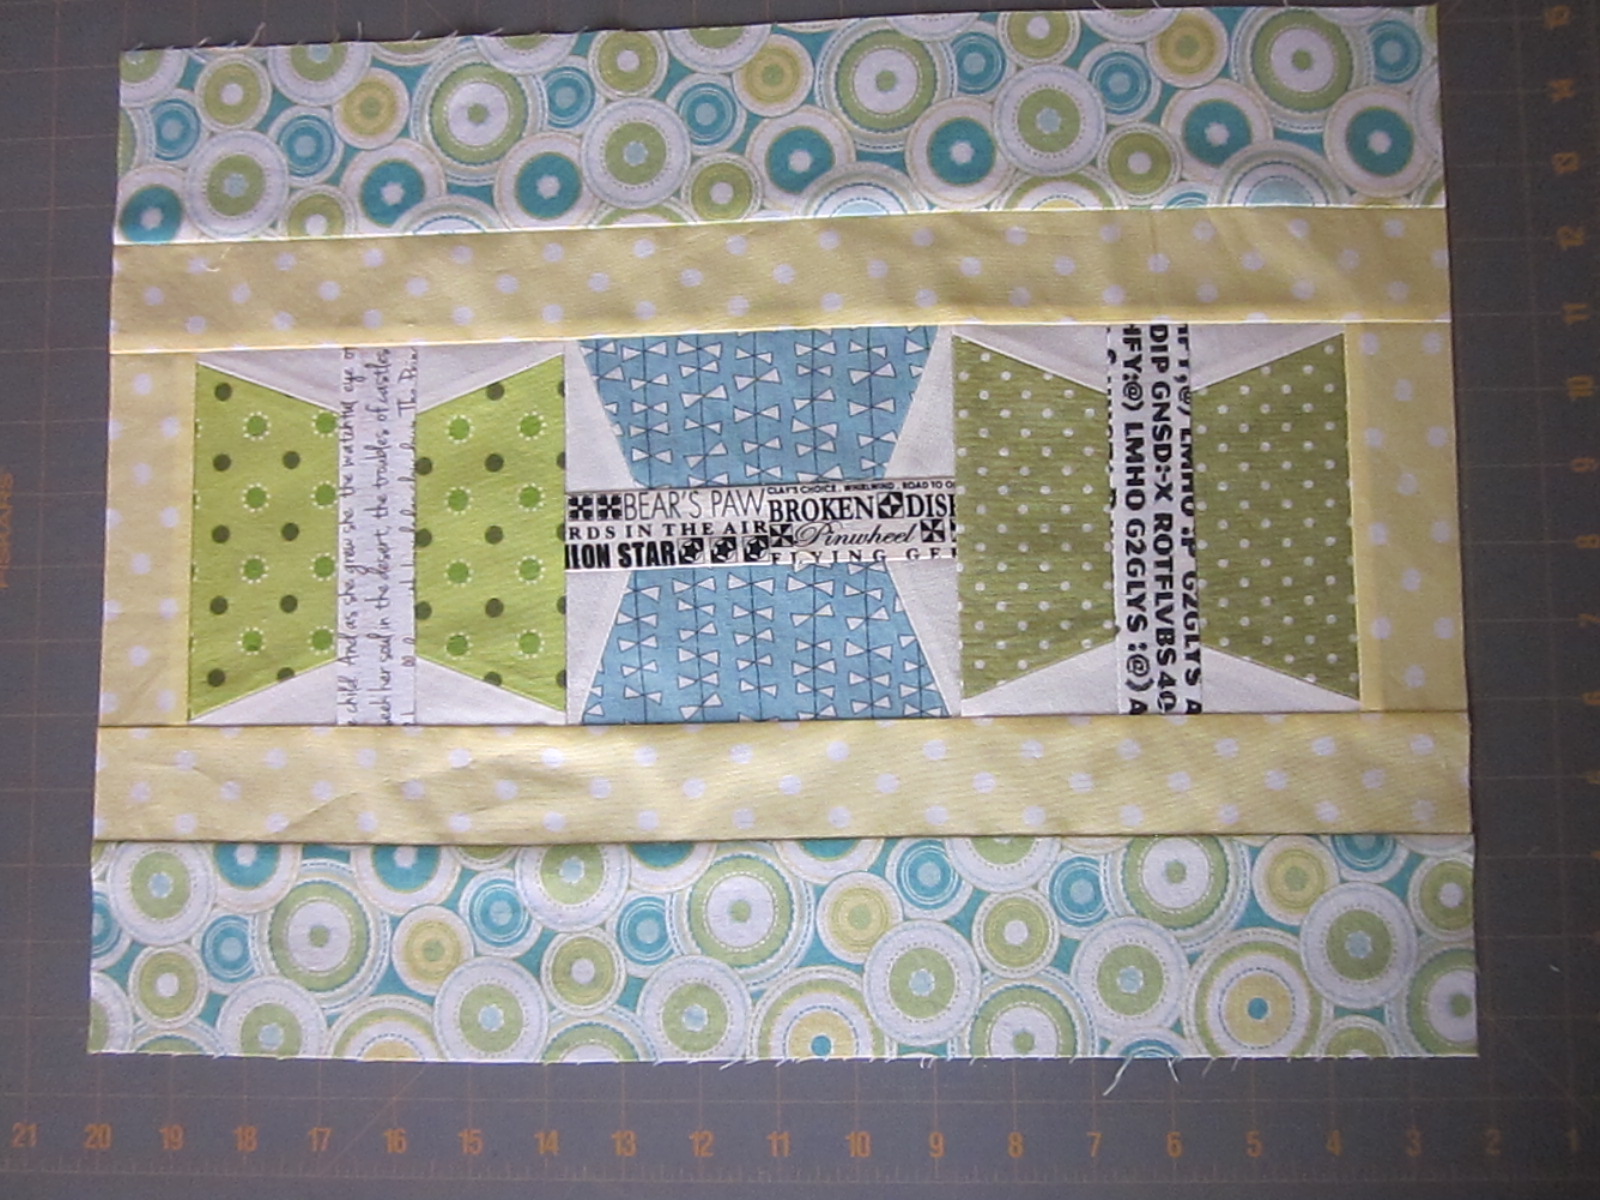
This one is waiting to be quilted...more on quilting these later!
Anyhow, after you make a few, they go very fast! Have fun with them and make a bunch to brighten up your kitchen...you could even go all matchy-matchy and have a full set!
Happy Quilting...
First, select your fabrics...One for the top and bottom, one for the inside border, one for the background behind the butterflies, three for the butterfly wings, and some text prints (or whatever) for the center of the butterflies....
Cut one 5.5" x 5" square from each of the butterfly wing fabrics. Cut in half to make two wings, each 5.5" x 2.5". Stack all three sets together to get it done quicker...
To make chubby wings on your butterfly, trim from the bottom corner of one side to 1" away from the corner above it. See pic for more info...LOL
Repeat on the other side...discard the scraps...
Next, you will cut the pieces for the rest of the placemat...three 1.5" x 5.5" strips for the centers of the butterflies...text prints are awesome for this part...
Next, cut the following pieces:
Cut the background squares kind of diagonally, but through the center, just a little bit slanty...
Next, attach the background pieces to the wing pieces...
I pressed my seams open on the wings...do this for all of them...
Now, you must trim them to be 2.5" x 5.5"....Start by aligning the left side of the wing with the 2.5" line on the ruler and trim the right side...
Next, rotate it and line up the 2.5" line and trim the other side....
If you've used a consistent 1/4" seam, you should be able to put the ruler 1/4" to the left and right of the wing and it should measure 5.5"...
Trim the right edge, 1/4" away from the wing tip...
Now, go 5.5" down the wing strip and trim the other end. It should be about 1/4" away from the wing tip on this side as well....
Now you have a nice 2.5" x 5.5" wing...
Sew your top strip to your inner border stips...do both of them...
Sew your wings to your center butterfly strips like you see in the pic....I pressed the seam to the inside of the butterfly. You butterflies will measure 5.5" square...finished size of 5" square. Make all three then arrange as you like...Sew all three together.
Attach the side inner border pieces to the outer edges of the butterfly strips. The middle will be a bit longer than the top and bottom...no worries!
Trim the sides so you have a nice rectangle...quilt as desired! Mine finshed to about 13.5" x 18" prior to quilting...
I used single fold binding on mine. Here are a few finished ones...love this one made from Soul Blossoms fabric...
Rainbow butterflies...these butterfly wings are skinnier because I cut at a 60 degree angle from the corner, but I like the fatter ones...
This one is waiting to be quilted...more on quilting these later!
Anyhow, after you make a few, they go very fast! Have fun with them and make a bunch to brighten up your kitchen...you could even go all matchy-matchy and have a full set!
Happy Quilting...
Subscribe to:
Posts (Atom)